The pedal box and brake servo have finally been fixed properly in place which involved being upside down for a good hour or so, dropping more nuts than I care to say and with my head stuck in fibreglass dust which is super itchy! After lots of taping for the head of the bolts on the engine bay side to try hold them in place (it really would be easier as a two-man job), trying to thread the nuts on upside down in the foot well with a sprinkling of cursing to help get things into place the job was done. All frustrating stuff but equally rewarding knowing that another bit is done.
The next jump forward was the final fitting of the gearbox to the engine. This had stood beside the car for sometime “looking” ready but there were two holes that needed bolts in place to get he bottom of the gravel shield fixed to the box. The engine has a “special” oil sump which mean that there was no space to use the standard cap bolts so it had sat like this for a few months (12?) before I managed to cut some studs and set them in place using some good strength Loctite. Another job needing expert skills in wriggling your fingers in small spaces to slip a nut into place as the box and the engine were mated whilst balancing the gravel shield in the right position.
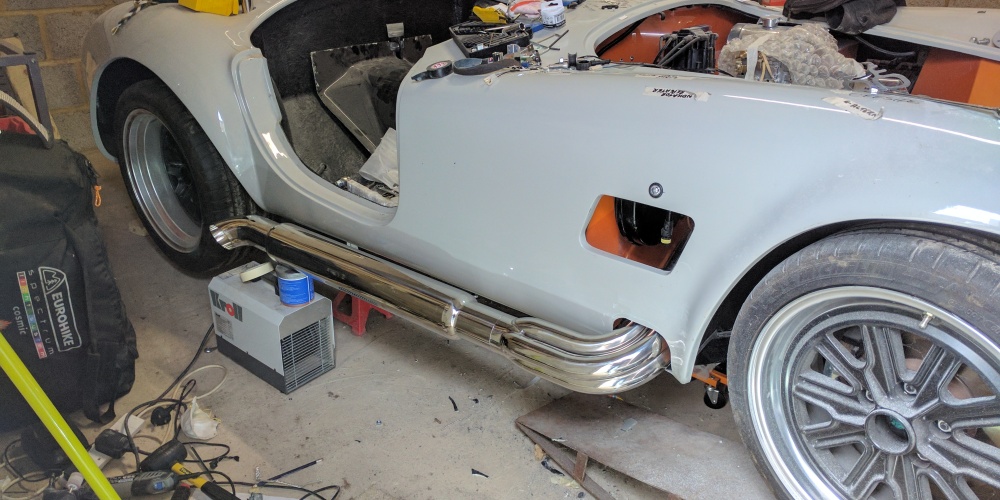
With the gearbox mated properly to the engine, the side vent studs were glass’d in to the body to create a stronger bond for fitting of the side vents than the worth adhesive that I had used a few months earlier but had proven to be a little badly done, or just weak.
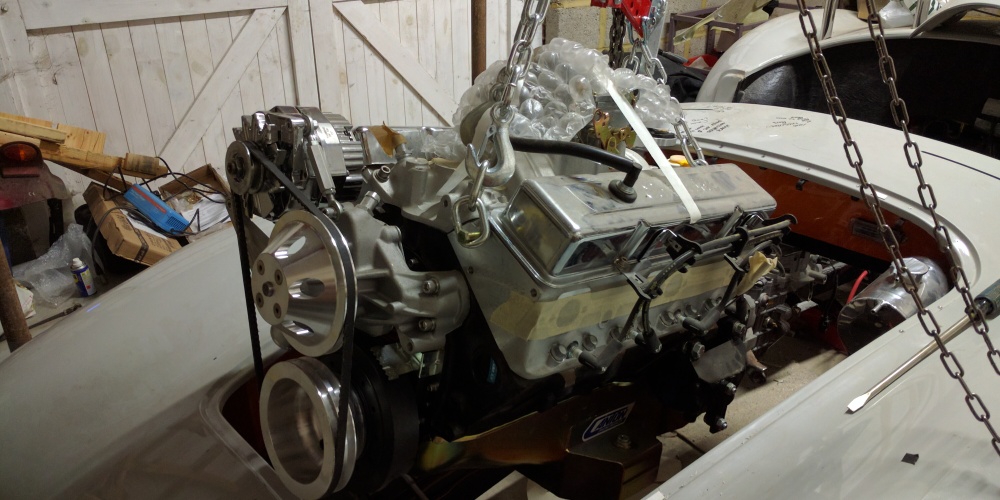
With much if the engine bay work completed and a new birthday present of a hoist level I trial lifted the engine on the scaffolding gantry (built about a year and a bit ago!) That seemed all fairly simple and as it was working as planned I decided to have a go at getting the block in to place. Surprisingly enough one of those jobs that I’d worried about my ability to do was fairly painless and after a couple of hours, or even possibly less, it was in! The gantry rolled well over the engine bay allowing the block to be manoeuvred a few mm at a time and lowered as needed. Jacking the back of the car up made a massive difference and allowed the gear box to float in through the bulkhead opening without any drama. A couple of bolts later it was all tied in place via the mountings and the gearbox mounted using the support plate. A massive feeling of progress, and a big empty space where the block used to sit!
The only thing I’ve gone backwards on a little is the timing needs to be redone for the engine – during the lift it became apparent that the distributor was going to get in the way of the lifting chains but being slightly over zealous I remove what I thought was the bolt attaching it to the engine, only to finally understand how those things worked – there was a driven column that went into the engine which tee’d which spark plug was firing depending on the rotation of the arm within the distributor. It was all mounted back in place pretty carefully to avoid any rotation but I suspect it should be double-checked to avoid any problems. If I’d only googled it first I could have saved myself this added job as removing the top cap was all that was needed. I’ll add this to the things to be read up on before possibly asking a professional to do it!
Happy days!
Build Time: Possibly 195 hours or so?


![IMAG0173[1]](https://mydaxcobrabuild.files.wordpress.com/2015/11/imag01731.jpg?w=1000)
![IMAG0169[1]](https://mydaxcobrabuild.files.wordpress.com/2015/11/imag01691.jpg?w=1000)
![IMAG0176[1]](https://mydaxcobrabuild.files.wordpress.com/2015/11/imag01761.jpg?w=1000)


